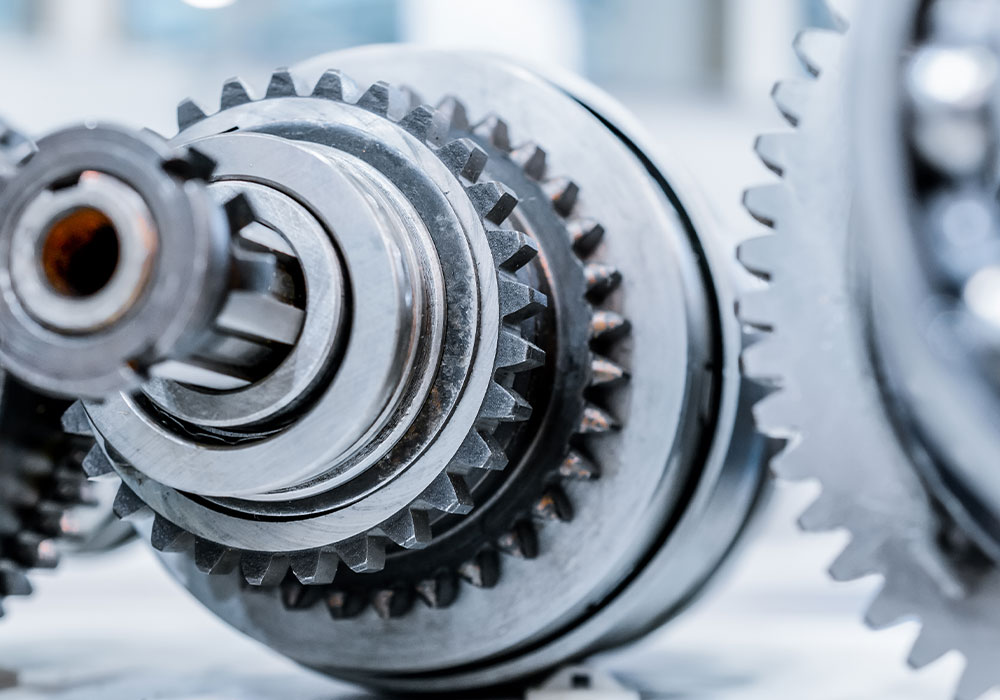
Gears do not always work perfectly in real-world applications; they wear down, become overloaded, and occasionally acquire surface damage before their core strength deteriorates. It is not usually possible to replace them fully. The damage is often relatively cosmetic, particularly with carburised gears, which have a robust inner core and a toughened outer shell.
In real-world applications, recarburizing and rehardening are effective surface treatment techniques for regaining surface hardness, wear resistance, and overall gear performance. They are not just temporary solutions. When carried out effectively, it allows manufacturers to save money, reduce downtime, and extend component life.
What Type of Damage Are We Talking About?
Many gear failures start out as minor surface-level defects that grow over time; not all of them are disastrous. The tooth flanks may develop tiny pits, shiny wear areas where the case was smoothed out by forceful contact, or even signs of heat tinting or oxidation brought on by overload or inadequate lubrication. These are all common forms of surface deterioration, especially in gears that have experienced heavy loads or cycles.
Usually, the damage is restricted to the outer few tenths of a millimetre, which is exactly inside the hardened case layer that was created during the initial carburising process. This is important because this layer is sacrificial by nature; it protects the harder, softer core underneath while taking the brunt of the wear.
So, the real question is, has the core survived?
Recarburising becomes a practical and beneficial option for restoring surface performance without replacing the entire gear if the answer is true, meaning there is no cracking, no significant deformation, and the geometry stays within recoverable limits.
First Step: Is it Possible to Recover this Gear?
The basic but extremely important question to ask before starting any heat treatment cycle is: Is this equipment really worth saving? Recarburization is not applicable to all worn or overheated equipment. You can prevent wasting time or worse, further damaging the part, by performing a few easy inspections.
Material Matters
Let’s talk about the materials first. Recarburisable steels like 16MnCr5, 8620, or EN353 contribute to the majority of gears treated by carburisation. A part’s carbon and alloy composition shifts when exposed to various extreme environments such as high temperatures, which, if not managed correctly, could cause brittleness or unexpected hardening behaviour on gears.
Do a quick material analysis to determine if the equipment has already undergone one or more temperature cycles. Keep an eye out for indications of retained austenite, excessive carbon accumulation, or an unusual microstructure. In later treatments, these things may surprise you.
How deep is the damage?
Surface damage is one thing, but the gear’s ability to withstand wear is jeopardised if you go deeper than the original case depth, which is typically between 0.8 and 1.2 mm. Surface pitting, scoring, or shallow decarb are typically under your control.
Recarburising won’t fix a weak core, though, and you won’t be dealing with a surface problem if the flanks are severely gouged or the damage penetrates deep into the base material.
You can find out how much case is left by using non-destructive techniques like microhardness profiling or eddy current inspection. Think about a tyre’s tread depth: if it’s too shallow, it’s dangerous to run on.
Is the Shape Still There?
The material and geometry of a gear both affect its strength. Examine the teeth. Is their profile still there? Is the involute shape still present? Warning signs should include cracks, extreme runout, or tip wear. Minor profile grinding can frequently correct minor distortion brought on by overload or wear, but don’t go overboard. Excessive removal can affect mating alignment, contact ratios, and backlash, especially in matched sets.
In summary, the equipment is a candidate if it has good material, controlled wear depth, and a recoverable shape. If not, it’s probably time to think about getting a replacement.
The Tricky Part – Getting Carbon Back into the Surface
After having confirmed that the gear can be recovered, it’s time to literally restore the surface by adding carbon again. Repairing the toughened outer shell, which guards against wear and fatigue, is the main goal of this procedure. However, every detail matters, from surface preparation to thermal profiles, for it to function.
First, clean it up
You have to thoroughly clean the equipment before you even think about putting it in the furnace. If the surface is covered in oxides, rust, oil, or machining residue, carbon diffusion won’t take place. Because these barriers act as insulation, the case depth may be uneven or the bonding may be insufficient.
The cleaning process may involve abrasive blasting, chemical degreasing, and, in some situations, pickling, depending on the degree of pollution. Skipping or doing recarburization incorrectly is one of the most common causes of failure, and it is completely preventable. Therefore, the rule is straightforward: Don’t carburise it just yet if you don’t want to eat it at the moment.
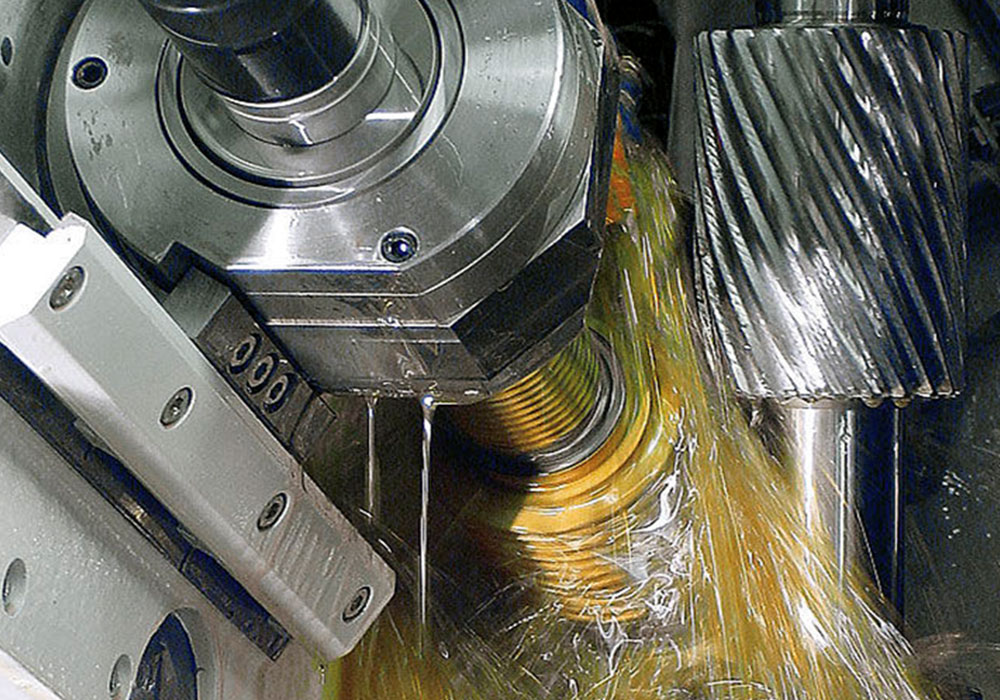
The Process of Carburising
The real transformation takes place at this point. Depending on the steel grade and case depth, the gear is exposed to high temperatures that are rich in carbon, usually between 870°C and 940°C.
There are several process options available to you:
Finding the ideal balance between temperature, time, and carbon potential is the problem. Depending on how many cases you need to rebuild, a typical cycle could take one to four hours. But if you go too far, you run the risk of absorbing too much carbon, which could lead to brittle carbide networks or excess retained austenite, both of which will limit gear life. Therefore, consider it similar to heat treatment: more isn’t always better. Make sure your treatment is appropriate for the application and the material.
Cooling Technique
After the carbon is in, it needs to be protected, which simply means quenching. The catch is that quenching nearly always results in stress and distortion, which you must take into consideration. Oil quenching is still the recommended method for the majority of gears. Without being overly harsh on geometry, it cools rapidly enough to produce martensite. Because they cool more gently and minimise dimensional displacement, gas quenching or polymer quenchants might be better suited for high-precision or tight-tolerance parts.
Controlling the load direction, agitation, and cooling rate during quenching is the key. An inadequate quench technique could harm even well-carburised equipment.
The Second Time Hardening
Although carbon is recovered through recarburization, the shell remains soft if it lacks sufficient hardness. Strength and resistance to wear are locked in at this point, but precision is needed.
The first step is austenitizing. Depending on the size of the part, heat the equipment to 850–890°C for a sufficient amount of time to completely transform the casing into uniform austenite, which is typically 30–45 minutes.
You run the risk of coarsening the grain, which reduces toughness and makes distortion worse, if you heat it up too much or hold it for too long. Controlled, even heating is essential for this.
Quench, Without Losing the Shape
The desired hard phase, martensite, is produced by quenching, but it also creates stress and the potential for breaking.
Distortion starts here, so control what you can with agitation, fixture design, and orientation.
Temper Right & Fast
To relieve internal stresses and stabilise the structure, tempering should take place as soon as possible after quenching, ideally within 30 minutes.
Untempered martensite is brittle and unpredictable, so don’t skip or put off this step.
To sum it up: Clean heat, smart quenching, and quick tempering turn a recarburized gear into a reliable performer. Skip a step or rush it, and you’ve only created a new failure point.
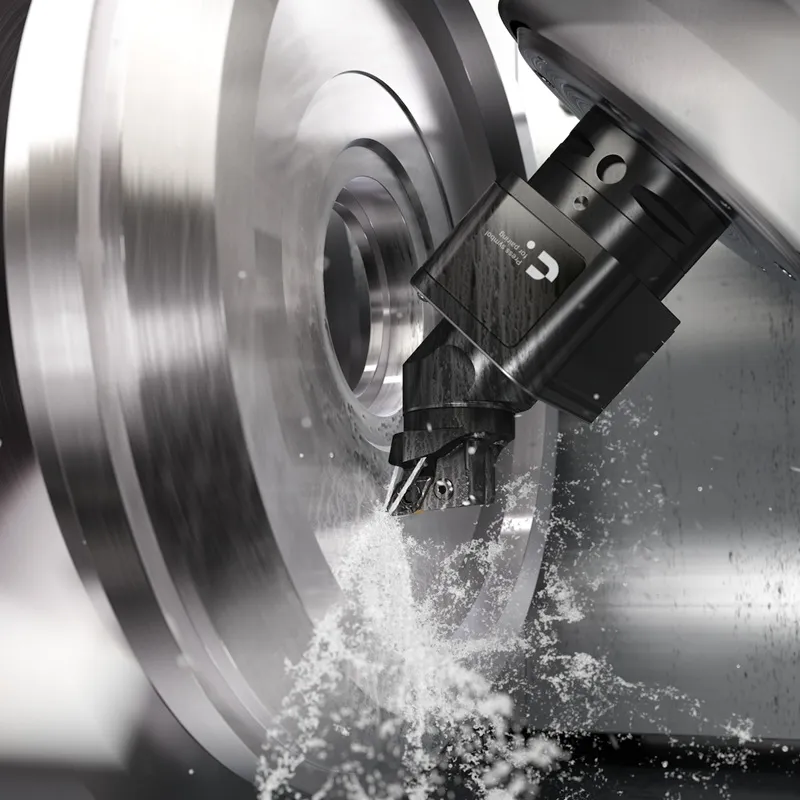
Bring Back the Shape
The process isn’t finished with the reheat-treatment of gears. Restoring it to a functional state and making sure it functions as planned constitute the last phase. Since distortion is nearly inevitable, mild finish grinding is typically needed to restore the correct geometry of the tooth. This entails carefully examining the lead, pitch, and contact pattern. Cutting too deeply will weaken the hardened casing and the newly rebuilt gear, so only remove what is absolutely necessary. Hardness testing is required following geometry correction. The case depth is not only present but also consistent and efficient, according to microhardness tests conducted along the flank and root.
Although it’s simple to assume that everything “should be fine,” real-world reliability is founded on factual information rather than speculation. Always check against the relevant gear standards or the original specifications. Checking for fractures or heat damage at this stage is also wise, especially in the root sections where quenching stress is concentrated. Testing with dye penetrants or magnetic particles works well, and for mission-critical equipment, vibration tests or mesh replication can reveal problems that are not readily apparent to the human eye.
Combining material inspections, thermal cycling, hardening, dimensional recovery, and final validation makes recarburizing more than just a repair. The component has a second life built into it. When done properly, it is a wise, economical substitute for replacement that is founded on true process control rather than wishful thinking, even though it is neither a fast fix nor a surefire way to fix every gear.
Set context and explain why recarburizing is a relevant, real-world repair solution for gear failures.
Define the scope of surface damage and help identify if a gear is even a candidate for repair.
Measure feasibility based on material, damage depth, and geometry — critical before investing time and money.
Explain the recarburizing process and how to control it to restore a proper case without overdoing it.
Reintroduce hardness safely and uniformly, ensuring the gear is mechanically sound for reuse.
Post-treatment processes — from finishing to inspection — that finalise and validate the repair.